Sweat-Proof Makeup Products I Use to Defeat the Heat While Solo Traveling (It's All About the Base)
BLOGSOLO TRAVELMAKEUPTRAVEL SKINCARE
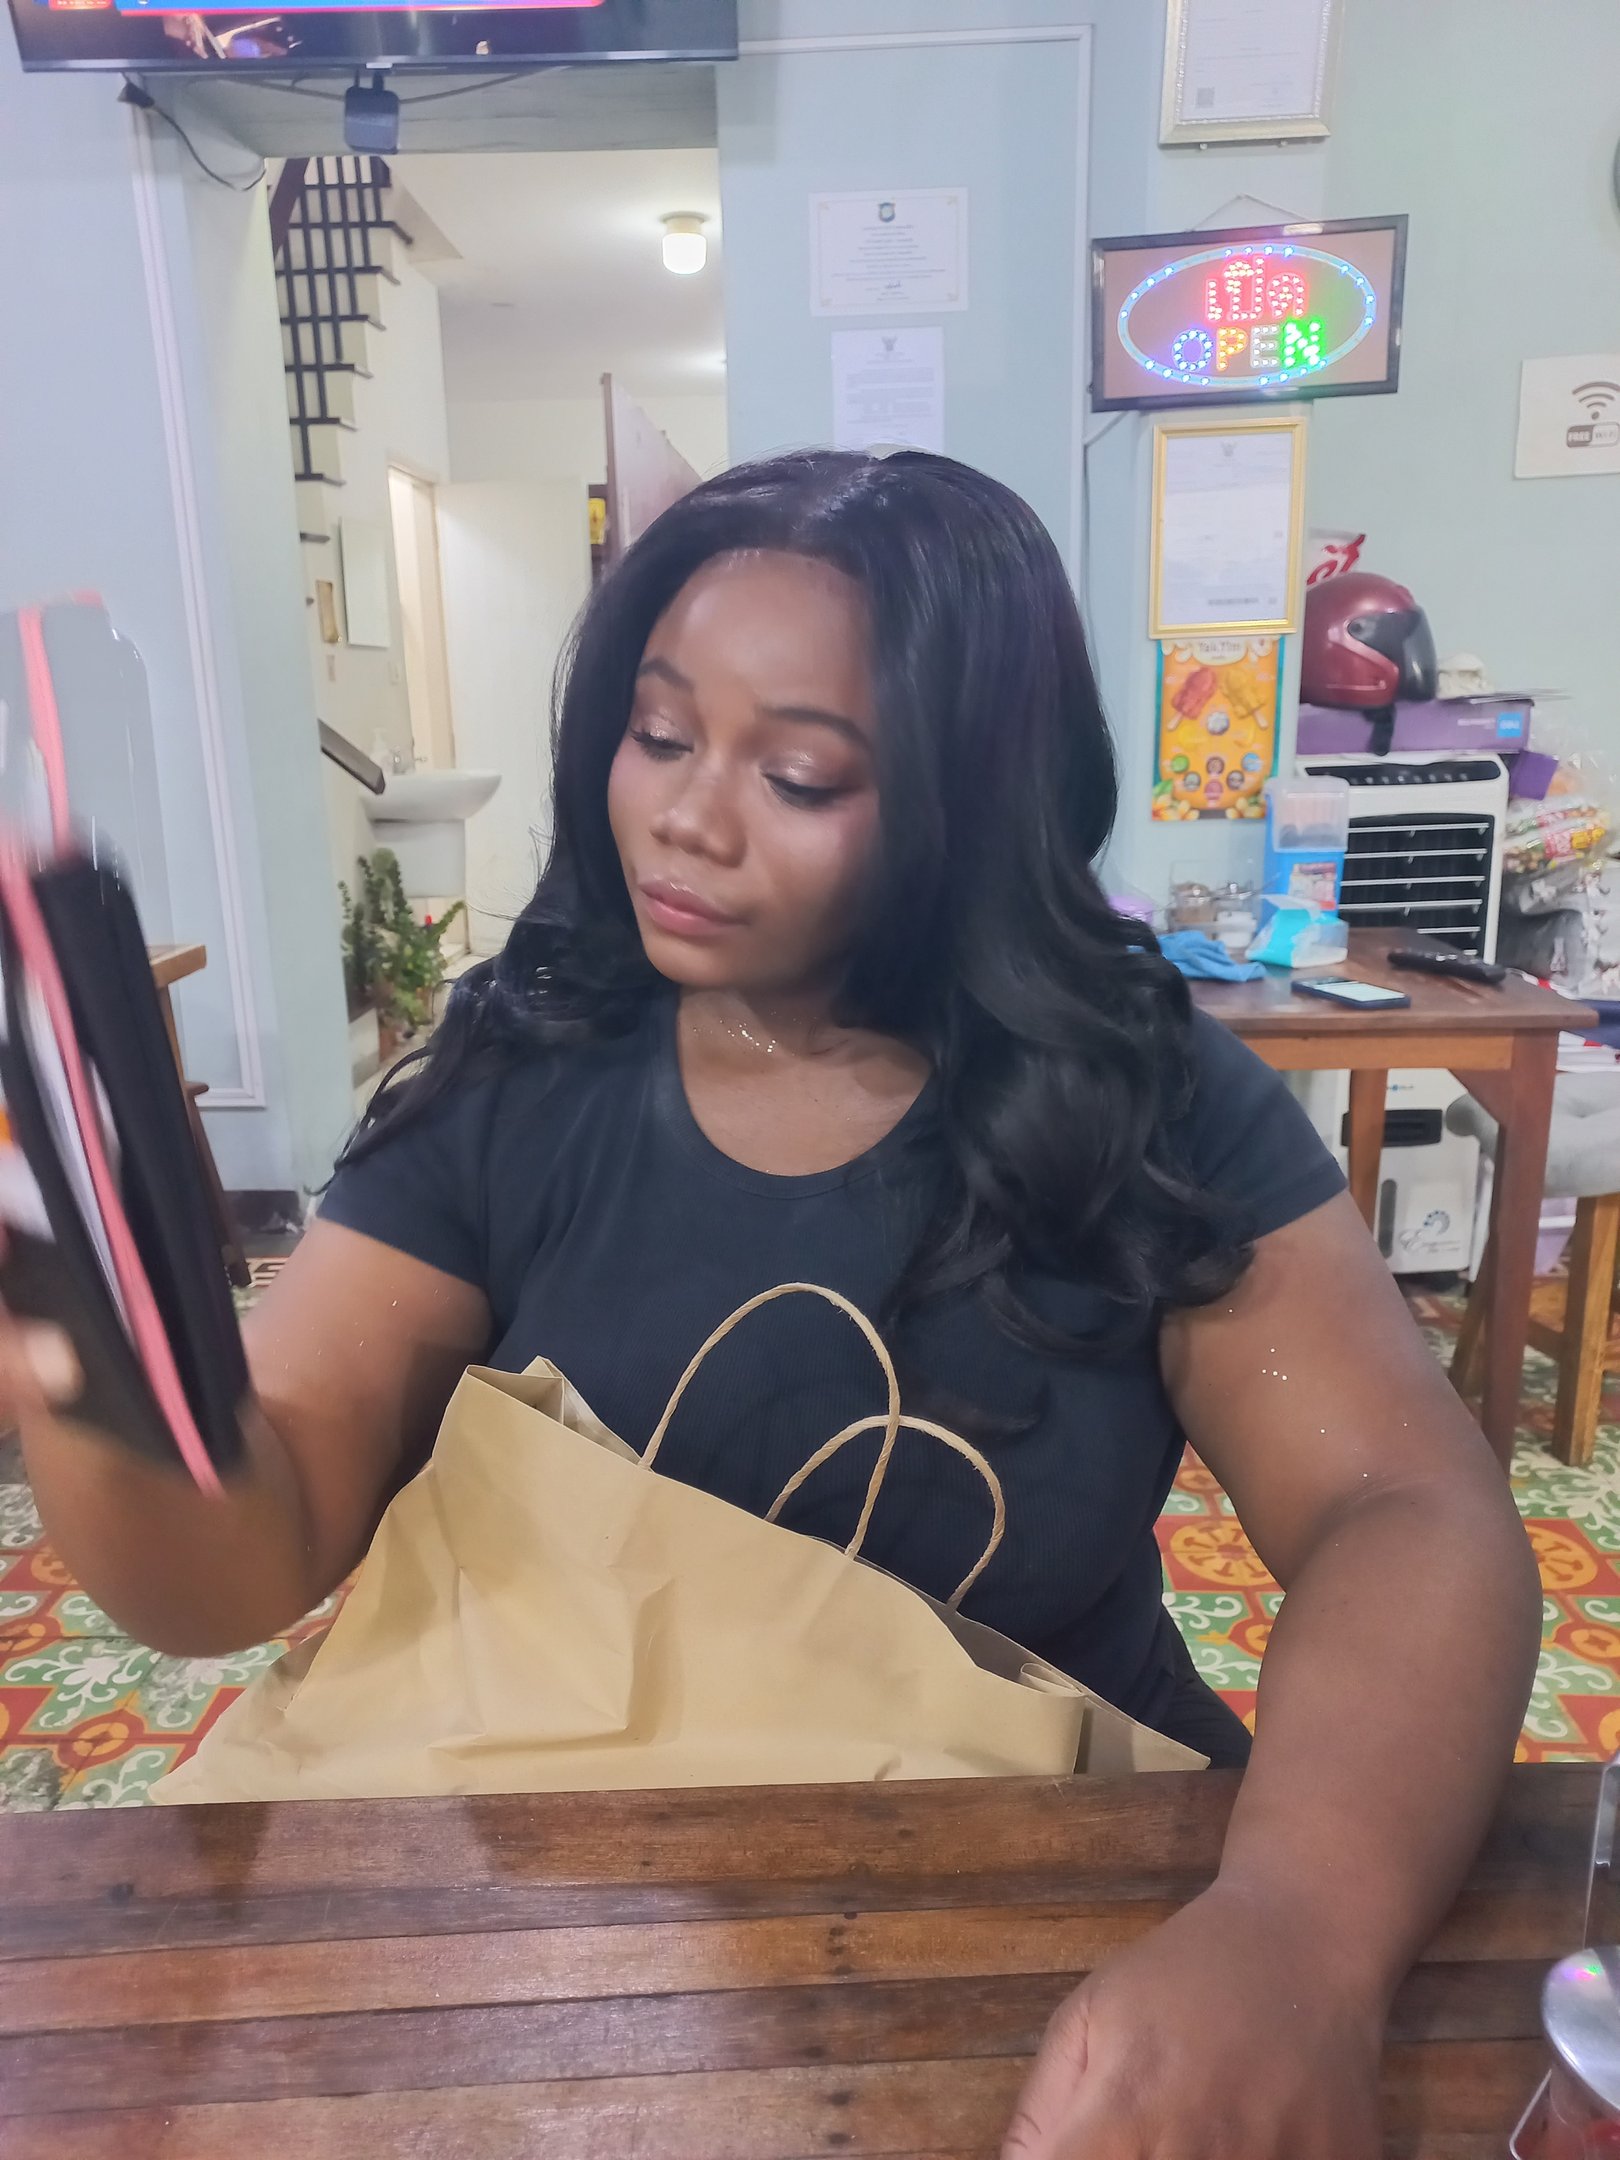
It is 94 degrees in Thailand, you have just gotten off a three-hour train, and still have two more temples to see before sunset.
Skin? Still intact. Foundation? Glistening! But more of a healthy glow.
This is the dream for summer solo travelers who to look cute but don't want their make up to slide off in two milliseconds of walking outside! I used to be the person who skipped makeup entirely on hot travel days because "what's the point." Sweated it off in an hour anyway. Looked shiny in every photo. Felt like I had to choose between looking cute and actually surviving the heat. Just to regret not taking pictures because I was too anxious about how they would turn out.
Here is what I have learned after solo traveling through some of the most humid places on earth: the problem was never the weather. The problem was the base.
Get the base wrong and nothing on top of it stands a chance. Get it right, and you can walk through Bangkok in July and still look like yourself by the time you sit down to eat.
This is exactly how I build mine, every product, in order, and why it works.
Step One: Moisturize. Please. I Am Begging You.
If you are skipping moisturizer because you think it will make you oilier in the heat, I understand the logic and I also need you to stop.
Dehydrated skin produces more oil. More oil = more breakdown = your makeup sliding off your face by 11am. Moisturizing is not optional. It is the whole foundation of the foundation.
I use the Etude House Collagen Moisturizer followed by a water-based serum. I like the Good molecules serum, but honestly, any mid-range one will do the job. The collagen moisturizer keeps my skin plump without feeling heavy, which matters a lot when you are in a hot and humid climate, and the last thing you want is something thick sitting on your face. The water-based serum layers underneath or on top without adding grease, it just absorbs and does its job quietly.
The application matters here. Do not rub it in. Pat it in.
I know that sounds small, but it actually changes everything. Rubbing stretches the skin and disrupts what you are trying to build. Patting presses the product in, helps it absorb faster, and keeps your skin calm before you add anything else. Take the extra ten seconds. It is worth it.
Let everything sit and absorb before you move on. This is not the step to rush.
Step Two: Choose Your Coverage (and Know Why)
Here is where I give you options, because the answer depends on the day.
Some days I want full coverage, events, dinner, content creation, days where I actually want to look done. Other days I am hiking, I am exploring, I am going to be sweaty and I know it, and I want something that will survive without looking cakey when it inevitably starts to work a little harder.
I have two products that handle both ends of that spectrum.
For Full Coverage: MAC Face and Body Foundation in NC50
This is not a concealer I am using as a concealer. This is a concealer I am using as a foundation, and if that sounds extra, it is because it works.
The MAC NC50 gives me the coverage I want without the weight I do not. It photographs beautifully,matches my skin tone, and it wears in the heat in a way that a lot of traditional foundations do not. On full coverage days, I apply this and build where I need to, under the eyes, around the nose, anywhere that needs more attention.
It sits on the skin, not in it. Which means it does not sink into fine lines, does not emphasize texture, and does not look like a mask by the end of a long day.
A drug store alternative would be the LA Girl Pro Concealer. I have been using this for nearly 10 years! It's an oldie but a goodie. just know you will need to use a little more.
For Light Coverage: L.A. Girl Pro Concealer Used as Foundation
On lighter days, I reach for the L.A. Girl Pro Concealer and apply it with a beauty blender the same way I would apply a foundation, blending outward from the center of my face, dabbing (not wiping) as I go. BTW I am the shade toffee.
This gives me that "my skin but better" finish without feeling like I put on a full face. It is also incredibly affordable, which matters when you are packing a travel bag and trying to minimize risk. If it gets lost, confiscated, or crushed at the bottom of a backpack, I am not devastated.
The beauty blender is non-negotiable here. Fingers are too heavy-handed for this kind of application. The sponge blends the product into the skin seamlessly, and when it is slightly damp, it sheers everything out to exactly the right finish.
Step Three: Lock It Down With Two Setting Sprays
Yes, two. Stay with me.
Setting spray is where most people go wrong, not because they skip it, but because they treat it like the finish line. One spritz, done. But in real heat? In real humidity? You need layers working together.
I use Skindinavia Setting Spray and TirTir Setting Spray, and they serve two different purposes.
Skindinavia is a has done their one with this. It is the setting spray that actually sets your makeup, creates a barrier, holds everything in place, and extends wear. I have used it in some genuinely brutal climates, and it delivers. What I love about this product is that it never makes my makeup look matte or dry. Whatever your makeup style is, dewy or matte, it locks it in. This is your lock-it-in step.
TirTir is the finish layer. It gives the skin a glow that looks like skin, not like spray. Where Skindinavia is your structure, TirTir is your glow, it is what makes the whole thing look intentional and fresh instead of matte and flat.
The way I apply them: Skindinavia first, let it dry, then TirTir on top. You can also mist TirTir throughout the day as a refresh, it does not disturb what is underneath, it just reactivates the glow.
Together, they keep the base intact and looking good from a 9am temple visit to a 9pm street food run.
What This Routine Actually Does
It protects your base without adding weight. It gives you options depending on what the day calls for. And it removes the mental tax of "is my makeup going to survive this", which, when you are navigating a new city alone, is genuinely one less thing to think about.
Solo travel already asks a lot of you. Your makeup routine should not be adding to the list.
Get the base right. The rest is just details.
Want to See This in Action?
I test all of this in real time, on real trips, in real heat, in countries where the humidity does not care about your beauty routine.
If you want to watch me travel the world and try different makeup looks along the way, subscribe to the newsletter. I share what is actually working, what flopped, and the products I find in random corners of the world that you will not see on a typical beauty blog.
It is the behind-the-scenes version of everything you just read, and it goes straight to your inbox. Subscribe here